So about 2 years ago I purchased a couple of used 3D printers for $50 one was a really flimsy delta printer and the other was this a DY-H9. It was really beat up and many of the motors had seized. I think it might have spent some time outdoors judging by the rust around the filament holder.

This model itself sold for almost $500 new and appears to have a decent build space. So although it needs a lot of work, repairing it appeared to be a worth while endeavor.
I had a board I was using in my Delta printer that I thought could be put to better use in this machine. LoL Also I really want to upgrade that machine with one of those new SR boards whenever I get the scratch to do so. So in my box of unused boards I scooped up the MKS Robin Nano V2 and TS35 Screen to replace the board it came with. I couldn’t find a precompiled firmware build for this printer so I had to write my own configurations from scratch. You can download them here if you need them yourself. They are of course a work in progress but I am now printing accurate successful prints with these configurations. At first I wired everything up rather haphazardly just to test the firmware and asses which motors/drivers functioned and which ones didn’t.

My first design has some flaws. I threw it together in rush. My OCD was driving me nuts looking at the ball of wires on my bedroom dresser. The enclosure works fine but I didn’t leave an easy way to access the Firewire port and SD card. I thought the removable side panels would make it easier wiring up the board but they actually made it more difficult because the wires kept spilling out the sides. I’ve come up with a better design but I’m still workingon it as we speak. so again I have some more revisions in mind before I commit to another 31 hour print. Here’s a link to it in it’s current form. Just in case any one is need for a quick and easy enclosure box for a MKS Robin Nano V2 with TFT3.5 Screen.


(I’m going to change the spacing on the array of polygons I used for the vent holes before I print out another copy).

After I got everything wired up safely and in it’s new enclosure it was time to design a better mount for the power supply. The original case had the control board in with the power supply. As a result it was so long that it wouldn’t clear the side of the printer when the z axis was trying to home. So they gave it a super long cord to compensate. I could have a Dremel-ed a new screen and board in there but I wanted something more compact and functional to integrate into my already limited work space.

I’m currently out of PLA and I’m so broke all I had was some off-brand, clear PLA + that I got for free. I imagine the extruder steps will have to be tweaked once I use some more convectional printing materials. Below is a video of it printing a bracket for my workbench’s power strip that keeps falling out of the wall.
Update 5-6-2022:
I have added belt tensioners for both the x and y axis. I didn’t feel like taking the time to design something that already existed so I used these models listed below.
https://cults3d.com/en/3d-model/tool/tronxy-x3-y-belt-tensioner-front
https://cults3d.com/en/3d-model/tool/tronxy-x3-x-belt-tensioner
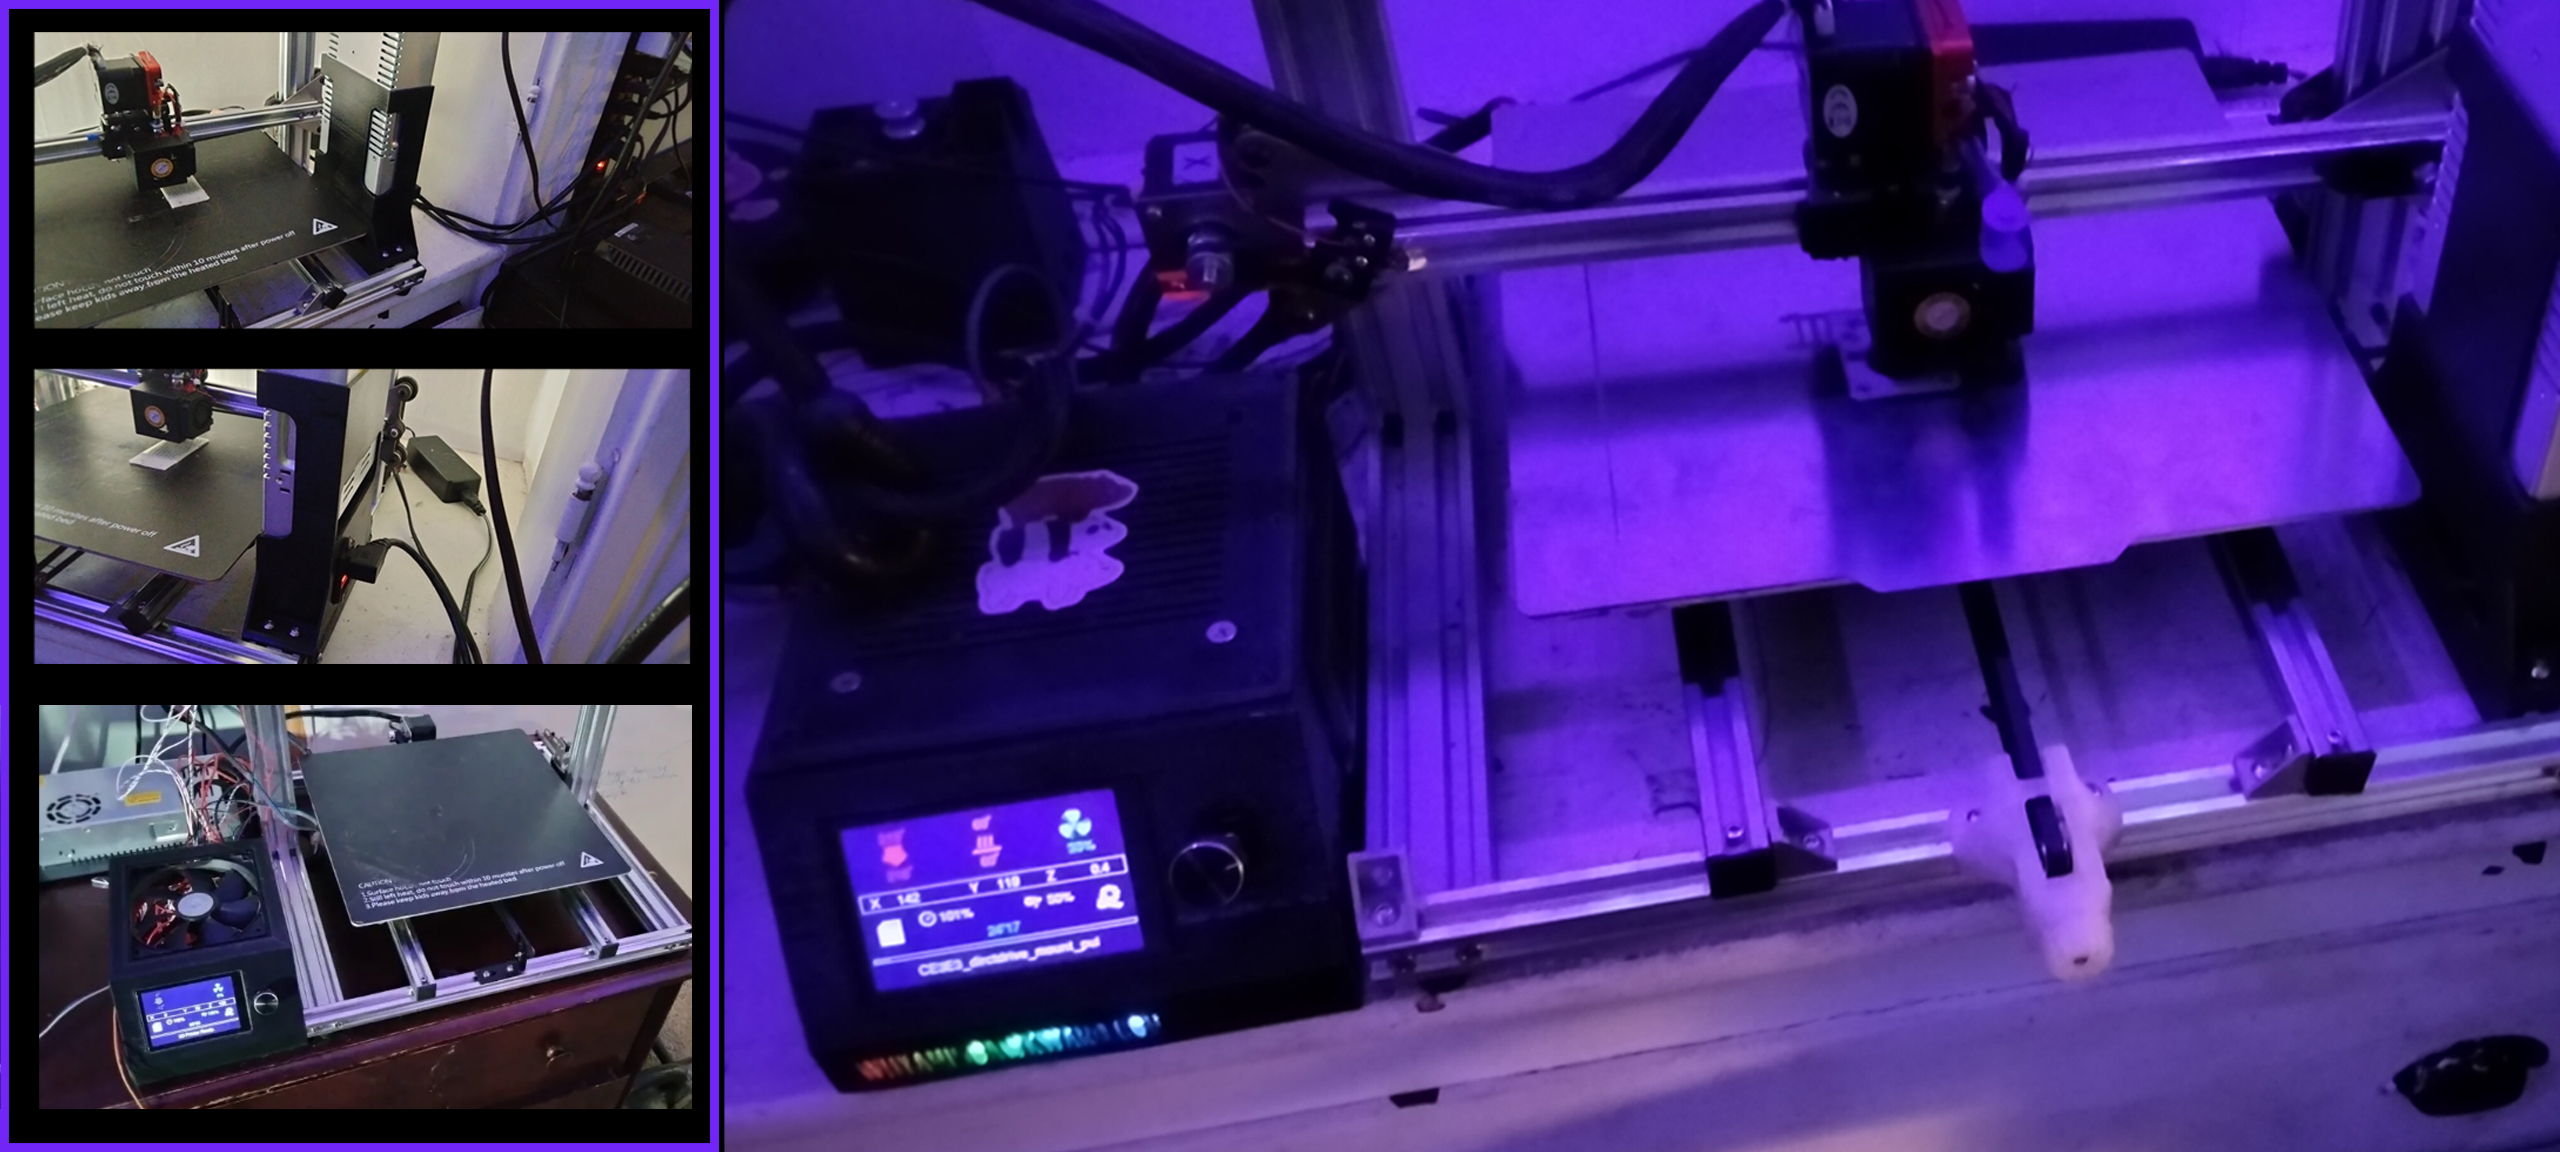
After tweaking the settings enough that I thought I could get a decent print I leveled it and gave it a fancy PEI plate. I’m printing a drag chain for the x axis now and have begun to come up an assembly housing to go over the X axis motor to allow a mount for a pull chain and a filament guide.


Finally I plan to re-enforce everything with extra extrusion rails I pulled off some junk machines. I’ve really wanted to get back to work on my fully automated 3d scanner project but I needed another working machine with a larger build surface in order to speed up the process. I’m not able to afford a new right now that was this capable. So building one from scraps was pretty much my only option. Once this completed I plan to devote most of my time o working out the bugs in my software to my scanner and designing custom circuit boards to replace the giant jumble of wires that keeps it running now.